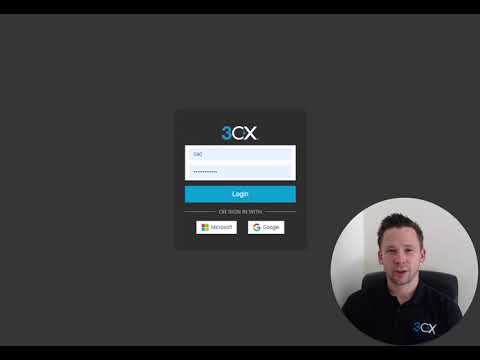
[0:01]Hi, I'm Keith, product communicator here at 3CX, and I'm going to give you a brief overview of the 3CX web client. You can log into your web client using the details found within your extension welcome email, Microsoft 365 account or Google account. Once logged in, you can see the availability status of all of your team members. You can change your own availability status by clicking on your icon in the top left hand corner. Here we have five different profiles to choose from, in addition to clicking on the pencil where we can set custom status greetings. Additionally, we can set our status temporarily for a fixed amount of time. If you are a member of a call queue, you can use this option to log in and log out of any call queues. Hovering over each of the icons, we can see here that we can make a quick call. We can start a video call, we can initiate an instant chat and we can add this user to our own list of favorites. Additionally, we have a more option. Moving into the top right hand corner, we have our dialer. Here we can enter an extension number, external number, or simply use it to type in a name to query the company directory or our own personal directory. Simply click on the name to create the call, and here we can see we have lots of in call functionality including placing the call on hold, muting the call, transferring the call, recording and elevating the call to a video conference. Additionally, next to the dialer icon, we have a QR code. This is used to set up the mobile apps and this will be covered on a separate video. Coming over to the left hand side, initially for the first time when you log into your web client, you have the bell icon. This is used to set up notifications into the browser to ensure that you don't miss a call. Below this, we have a Windows icon. This is used to download the Windows desktop application. Again, this will be covered on a separate video. The chat, instant chat and 3CX video conferencing will cover on a separate video, but we can see we have a call log where we can hover over each of the users, each of the call entries and simply create that call again or start our instant chat. We can also filter this down. Finally, coming down to our panel on the left hand side, this shows us any active calls on the system at the time, and we can filter this down to any queue calls that we may be a member of and also to display the 3CX wallboard. We also have a pop out icon here which is used to display the wallboard on a larger screen if you so wish. Finally, down on the left hand side, we have our more option, which contains contacts, voicemail and settings. That's it for the web client overview. I hope this has been informative. Please make sure to subscribe to our YouTube channel for more videos.
3CX WebClient Overview
3CX
2m 56s528 words~3 min read
YouTube auto captions
Transcript source
YouTube auto captions
This transcript was extracted from YouTube's auto-generated caption track. The transcript below is server-rendered so it can be read, searched, cited, and shared without opening the original YouTube player.
Pull quotes
[0:01]Hi, I'm Keith, product communicator here at 3CX, and I'm going to give you a brief overview of the 3CX web client.
[0:01]You can log into your web client using the details found within your extension welcome email, Microsoft 365 account or Google account.
[0:01]Once logged in, you can see the availability status of all of your team members.
[0:01]You can change your own availability status by clicking on your icon in the top left hand corner.
Use this transcript
Related transcript hubs
Watch on YouTube
Share
MORE TRANSCRIPTS


