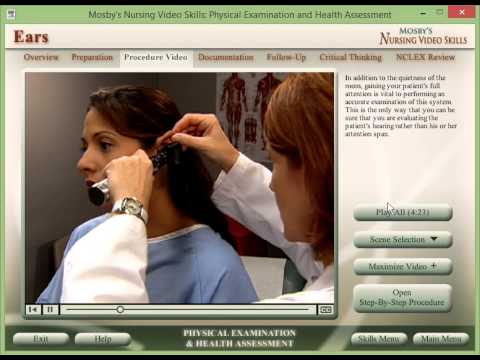
[0:16]Beginning with the external ear, inspect the Oracle size, shape, symmetry, landmarks, and color. Also note the color of the surrounding tissue and check for any abnormalities. The Oracle should match the color of the facial skin and should have no deformities, lesions, or nodules. The pre- auricular area should have no openings or discharge. Now assess the Oracle's position. Draw an imaginary line from the inner canthus of the eye to the most prominent part of the occiput. The top of the Oracle should be at or above this line. Next, draw a perpendicular line in front of the Oracle, which should tilt back by 10 degrees or less. Also inspect the external auditory canal, which should have no discharge or odor. I'm going to survey your ears now. Then palpate the Oracle's and mastoid areas. The Oracle's should feel firm and mobile and should be free of nodules. Mastoid areas should have no tenderness or swelling.
[1:35]To straighten the auditory canal, gently pull the Oracle up and back. With the opposite hand, insert the otoscope about 1 to 1 and 1/2 cm. If you could just turn your head. For the best view of the auditory canal in a child, you may need to pull the Oracle down and back.
[1:59]For a patient of any age, inspect the auditory canal, which should be pink with hairs in the outer third, but no lesions, discharge, or foreign bodies. You may see a little cerumen, which can vary in color and texture, but should be odorless. If cerumen blocks your view, remove it by irrigation or a cerumen spoon. In each ear, inspect the tympanic membrane, gently moving the otoscope to see the entire area. You should be able to see all landmarks, including the umbo, handle of malleus, and light reflex or cone of light. The tympanic membrane should look pearly gray and have no perforations. At the umbo, it should be slightly conical. So I'm going to assess your ears now. To assess tympanic membrane mobility, make sure the otoscope speculum fits well and seals the auditory canal. Then gently squeeze and release the bulb on the otoscope's pneumatic attachment. In response, the membrane should move in and out, causing a visible shift in the cone of light. I'm going to whisper three letters and I want you to tell me what they are. Next, check the patient's hearing with the whispered voice, Weber and Rinne tests. I want you to take your finger and put it in your right ear and wiggle it while I'm testing the left ear. Like this. That's perfect. And look straight ahead, please.
[3:35]At a distance of 30 to 60 cm, or 1 to 2 ft, the patient should respond correctly more than half the time. C 1 B. That sounds like C 1 B. That's good. Next, perform the Weber test. To begin, tap or stroke the times of a tuning fork to set it in vibration. Then place the base of the fork on the midline of the patient's skull. Tell me where you hear the sound. And I want you to tell me when you stop hearing the sound. To assess bone conduction, place the base of a vibrating tuning fork against the mastoid bone and note how long it takes until the patient can no longer hear the sound. Now.
[4:30]Now, I want you to tell me when you stop hearing the sound. To assess air conduction, quickly move the vibrating times 1 to 2 cm from the auditory canal. Note how long it takes until the patient can no longer hear the sound. Air conduction should be twice as long as bone conduction. Now.


