[0:01]Bismillah ar-Rahman ar-Rahim. Assalamu alaikum wa rahmatullahi wa barakatuh. We will talk today about the taper. How to use the four coordinate.
[0:18]First I draw a shape and I'm going to make the taper. First we must create a path.
[0:33]We create the path. Okay. Now I'm going to create a path of taper.
[1:01]Now, I will make the path of taper. I will focus on the first thing, which is H1. H1 is the distance between the nozzle and the nozzle. This is H1. H1 is the distance between the bottom nozzle and the top one. This is the H1.
[1:39]I will go to the next one, which is H2, and this is fixed. And H2 is the distance between the bottom nozzle and the bottom of the workpiece. This is H2 is the distance between the bottom nozzle and the bottom of the workpiece. This is our dimension. Thank you.
[2:10]This distance is fixed. This is a fixed number that does not change. The third thing is the height of the workpiece. The height of the workpiece. The height of the workpiece. After that, I will find another fixed number, which is the radius of the wheel.
[2:54]The radius of the wheel.
[3:03]Here I have three choices. We will take only this today. Next part, or next video, we will talk about the others. Today, we will talk about how to use an angle. Okay? And if I use a minus angle, it means that the small surface or the small dimension will be the up, and the bottom will be the bigger one.
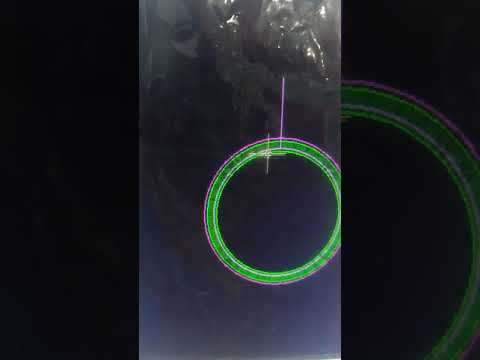
[3:59]And I will press OK. And press on the shape and put the shape in any place in the screen. Now, I created the taper. When I zoom in, I will find two colors. When I get very close, I will find two colors: a dark color and a light color. The light color means it is the top one.
[4:35]Now, I write H1, and we will write H1, it is 212.5. And H2 is the fixed number. Now, I press OK. Press on taper.
[5:07]Now, I will choose Autocut. Send Taper Path to WireCut. We will send the taper. I will choose Card.
[5:23]Right-click and right-click. We move to the Autocad software. We went to the Autocad program. Okay.
[5:35]Right-click. Top view. And page up. Page up and page down to zoom in or zoom out. Now, I'm ready to work. Okay.
[5:58]Now, I'm going to start. Start. Press start. Okay.
[7:54]Now, the task is finished. And this is the result. We will measure it now. 8.5. 6.5. This is our dimension. Thank you.


